Welcome to the Federal Energy Management Program’s Building Re-tuning Simulator (BRS). This overview will help new users navigate the site.
Before Getting Started
There are three steps that should be taken before using the BRS:
- Screen the building to determine if it is a good re-tuning™ candidate. This can be done by completing the Re-tuning Candidate Checklist.
- Identify staff that will be able to provide building-specific knowledge support for the HVAC systems, controls, and building operating requirements. Staff supporting the BRS and re-tuning processes may include the building manager, energy manager, O&M contractor, and controls technicians/contractor.
- Review the BRS databook before entering information into the BRS tool. This will help determine availability of data needed for the building, equipment, and operations to complete the BRS modeling.
Key Steps
- Create a BRS account
- Create a new team
- Add team members
- Assign user roles
- Create and manage team simulations
- Use simulation modules to complete the required actions
- Review action step requirements
- Use available resources for assistance
- Use simulation results to select applicable re-tuning measures for implementation
Homepage
The BRS Homepage is where new users can register for an account, existing users can log-in, and visitors can find out more information about the tool. Visitors can use the navigation menu on the left side of the page to find the following information:
- About: An overview of the BRS tool
- Methodology: Description of the building systems and key operating parameters that are modeled using the BRS tool
- Glossary: Key terms and their definitions used throughout the BRS tool
- Training: Available re-tuning trainings
- FAQ: Answers to commonly asked questions about the BRS tool
If you need assistance while going through the BRS tool, use the “Assistance” option in the header.
Create a BRS account
To register for a free BRS account, users must have a valid email address. Please fill out all the requested information and then validate your account once you receive the BRS account validation email. Users must agree to the terms of service and validate the account before creating a team or building simulation.
Create/Manage a Team or Simulation
Users can access their teams using the “Dashboard” option in the header. A default team is created after users register for an account. The following options are available in the Dashboard:
- Switch Teams: Allows a user to switch between project teams. The BRS tool uses teams to group simulations. This option is only available if a user is part of multiple teams.
- Manage Team: Allows a user to add new team members. In order to invite others to join a team, a user must enter a valid email address and assign a role for the new team member. This page also allows a user to change the team’s name.
- Create New Team: Allows a user to create a new team to collaborate with others.
- Request Assistance: Users can either click this button to request assistance or use the “Assistance” button in the header.
- Screen Building: Allows a user to check if a building is a good candidate for re-tuning.
- Create New Simulation: Allows a user to create a new project simulation within the selected team.
Simulation Modules and Action Steps
Users can access their teams and simulations using the “Dashboard” option in the header. After selecting a project simulation, users are taken to the “Simulation Modules” page. This page shows all the modules and action steps on the left sidebar and allows a user to complete the actions and advance forward through the input fields.

Figure 1: Left Navigation for Modules and Action Steps
The following icons are used to complete the required Action Steps and track progress:
 |
Action has not yet been started |
 |
Action is in progress |
 |
Action has been completed |
Each action step includes three sections: Guidance, Data Inputs, and Notes.
Guidance
The “Guidance” section provides information about the selected action step. It includes information about what inputs are needed for the simulation including an overview and in-depth explanation. Users are encouraged to read the entire guidance for the action step prior to entering any data.
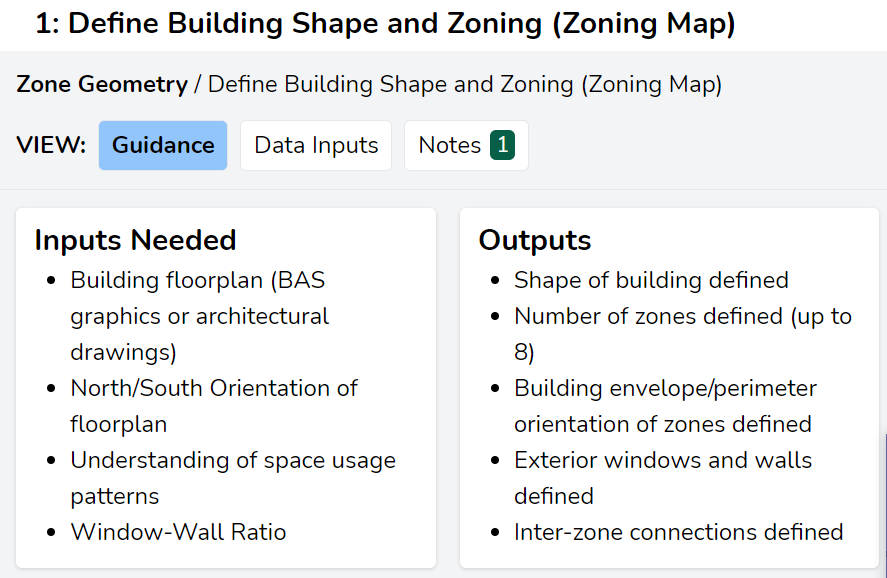
Figure 2: Guidance Section Snapshot
Data Inputs
This section is where users must enter all necessary information to complete the re-tuning simulation. Make sure to click the “Save” button before moving onto the next action step.
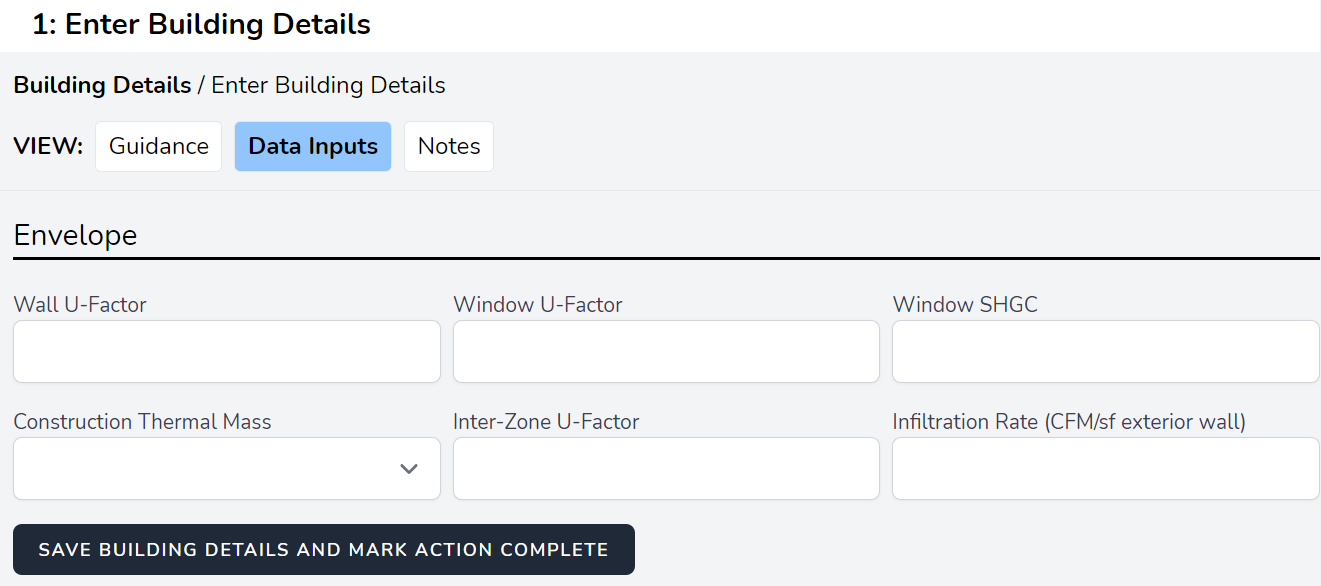
Figure 3: Snapshot of the Data Input for an Action Step
Some action steps cannot be completed until users complete a previous module or action step. If users attempt to advance forward without completing the required action steps, they will encounter the following message:

Figure 4: Form Locked Message Snapshot
TESTING ONLY Error Note: You may receive a 500 error message if a bug breaks the tool during testing. Try to go back to the previous page to resolve.
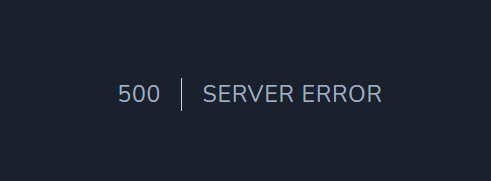
Figure 5: Testing Only Error Note
Notes
All action steps include a “Notes” section to allow users to communicate with other team members and add relevant information related to the simulation. Although notes are not required to complete a simulation, users are encouraged to use this section to add relevant simulation or action step information, assign tasks to other team members, or add reminders or helpful tips. The notes can also be useful when seeking assistance from the BRS tool development team.
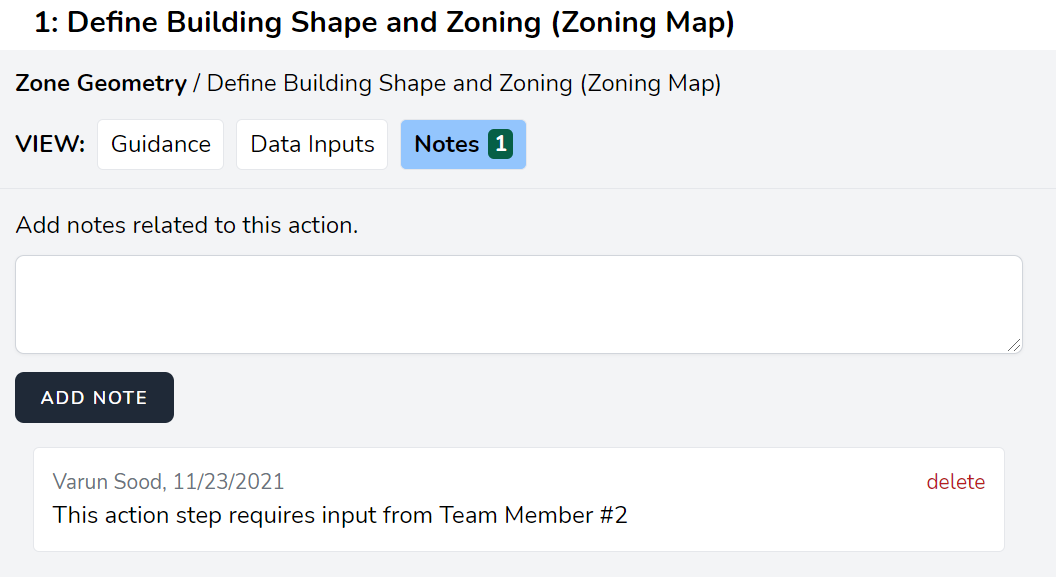
Figure 6: Notes Section Snapshot